7. Shaders.
Before exporting, we need to apply the shaders. Since everything has a basic W3D Material, we've already given ourselves a nice head start on this step.
Open the material editor and select the main unit texture, then click the Select by Material button. The Select Objects tool should come up showing the objects using this material highlighted. Click Ok to select them.
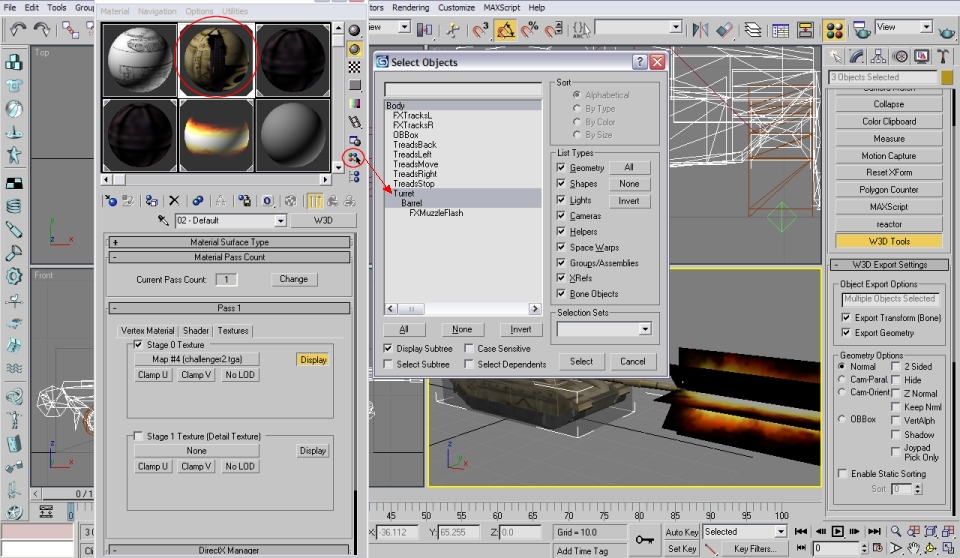
Pick an empty slot in the material editor and click the button labeled Standard. Pick the DirectX 9.0 Shader and discard the old material.
You should see a button with a directory path written all over it, pointing to a default FX shader. Click on that button and choose a shader. The ObjectsGDI.fx shader in the C&C3 folder is suitable for my needs. You should see the parameters panel change.
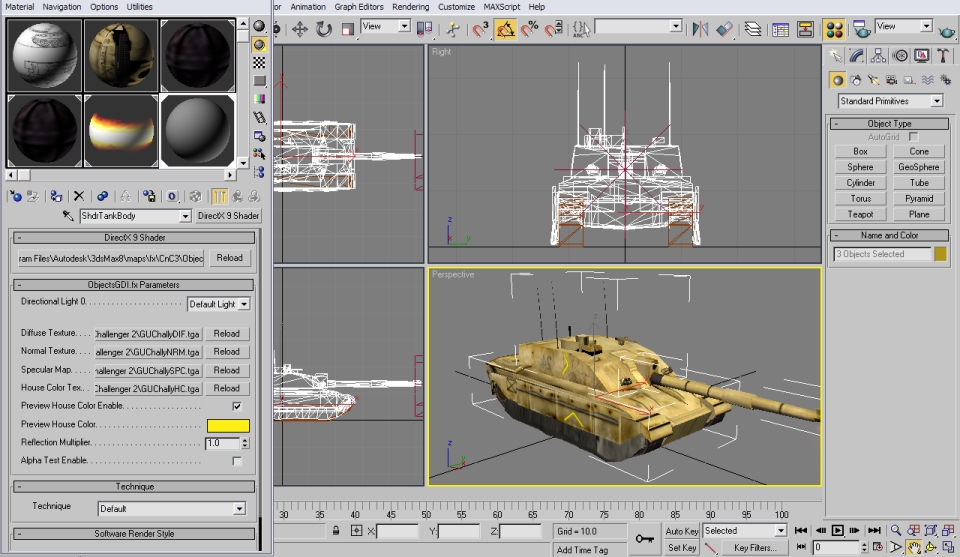
The Diffuse Texture is your main texture for the model, you then have a Normal map (for depth), specular (for shading or glow) and a House Color Tex for the house color. How to make these images is explained in the SDK documentation.
You must have all of these for the exporter to work!
Note that all of my texture file names start with GU. Below them is a checkbox labeled Preview House Color Enable, this switches on housecolor in the viewports, using the colour set below. Also if your Diffuse texture has an Alpha channel on it for transparency, check the Alpha Test Enable.
Apply the shader material to the selected meshes, the tank should now look shiny.
Select the muzzleflash mesh and create a new DirectX 9.0 Shader material for it. Select the MuzzleFlash.fx shader and find the Muzzleflash texture for the diffuse texture. Apply the material to your muzzleflash mesh leaving the rest of the settings default
Previous | Next
 - all rights reserved.